






















What Is the Installation Process for a Dyness Energy Storage System?


Get notified about new updates, products, tips and tutorials. No spam.
The installation process for a Dyness energy storage system usually includes energy assessment, product selection, site preparation, battery installation, inverter connection, system configuration, and commissioning.
A successful installation depends on proper battery-inverter matching, suitable installation conditions, correct wiring, communication setup, and compliance with local electrical regulations. The final installation should always follow Dyness official documentation and professional installer recommendations.

Why Installation Planning Matters Before Adding a Home Battery
A home energy storage system is not simply a battery added to a solar system. It is an integrated energy solution involving PV generation, battery storage, inverter communication, monitoring, electrical protection, and energy management.
Before installation, homeowners and installers should evaluate daily electricity consumption, existing PV capacity, backup power needs, available installation space, local grid rules, and future energy plans.
Proper planning helps avoid common problems such as insufficient capacity, incompatible equipment, difficult future expansion, or poor installation conditions.
For example, a household planning to add an EV charger, heat pump, or larger PV system in the future may benefit from a scalable battery platform instead of choosing only for current electricity use.
Main Steps in the Dyness Installation Process
The installation process should be completed by qualified professionals according to Dyness manuals, approved inverter compatibility lists, and local electrical standards.
| Installation Step | What It Includes |
|---|---|
| Energy assessment | Review daily electricity use, peak power demand, PV generation profile, backup loads, and future expansion plans. |
| Product selection | Choose a suitable low-voltage, high-voltage, or modular Dyness battery platform based on capacity, power demand, inverter compatibility, and installation space. |
| Site preparation | Confirm wall or floor conditions, ventilation, temperature range, moisture protection, cable routing, maintenance access, and safety clearance. |
| Battery installation | Complete wall-mounted installation, floor-standing placement, stackable module assembly, or parallel battery connection depending on product design. |
| System connection | Connect battery power cables, communication cables, inverter interface, monitoring equipment, and protection devices according to approved wiring guidance. |
| Configuration and commissioning | Set battery-inverter communication, configure system parameters, test charging and discharging, connect monitoring, and complete safety checks. |
Only after installation, configuration, communication, and safety checks are completed should the system enter normal operation.

How to Choose the Right Dyness Battery Platform
Different Dyness battery platforms are designed for different residential energy storage needs. The right choice depends on electricity demand, backup expectations, PV system size, installation space, and future expansion plans.
| Battery Direction | Typical Fit | Expansion Logic |
|---|---|---|
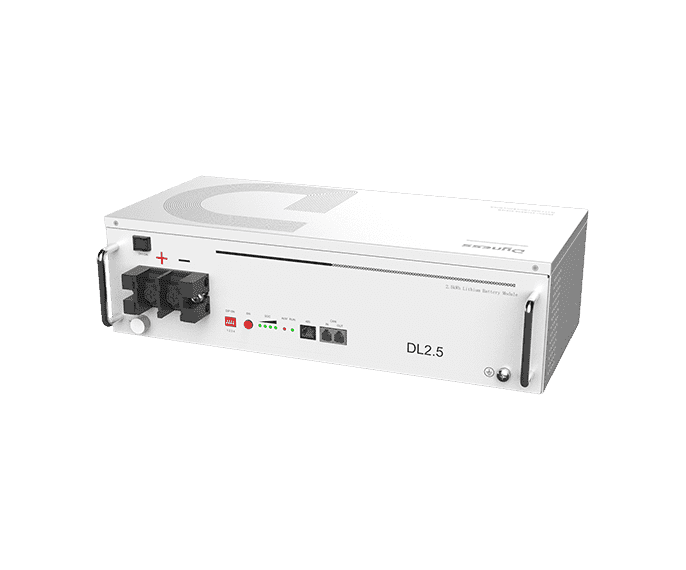
| Low-voltage battery systems | Standard residential solar storage, retrofit PV projects, and homes requiring flexible capacity options. | Capacity may be increased through approved parallel battery configurations, depending on model and inverter matching. |
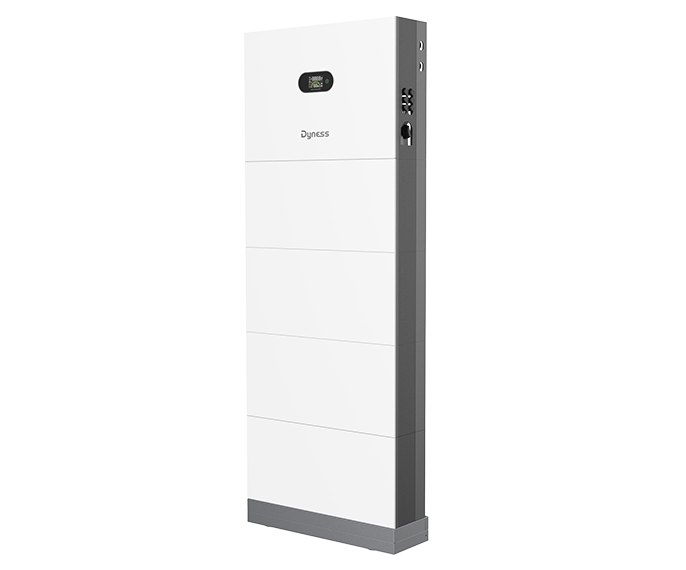
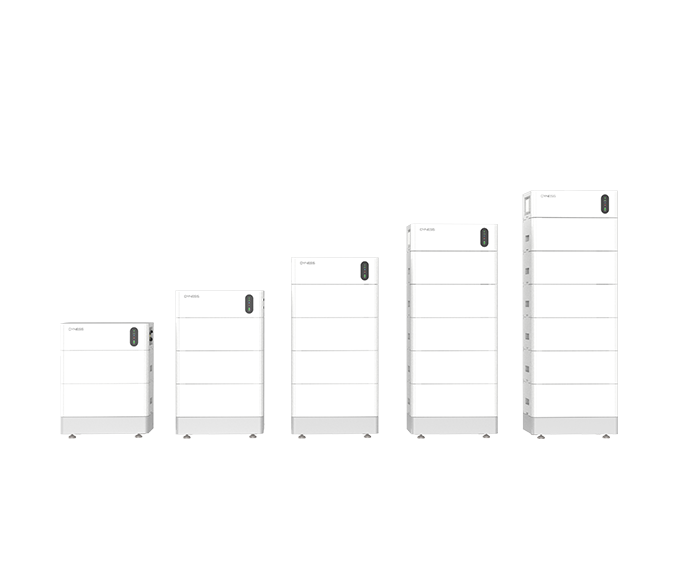
| High-voltage modular systems | Larger homes, higher energy demand, stronger power requirements, and more advanced residential applications. | Capacity may be increased by adding modules within approved high-voltage system configuration limits. |
| Multi-cluster or larger configurations | Higher-capacity residential or light commercial energy needs where supported by product platform and project design. | Requires careful evaluation of battery compatibility, inverter capability, BMS communication, and installation requirements. |
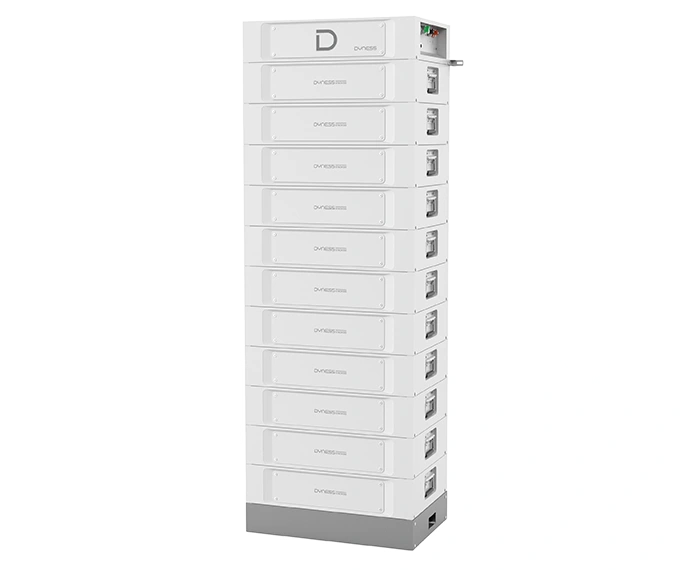
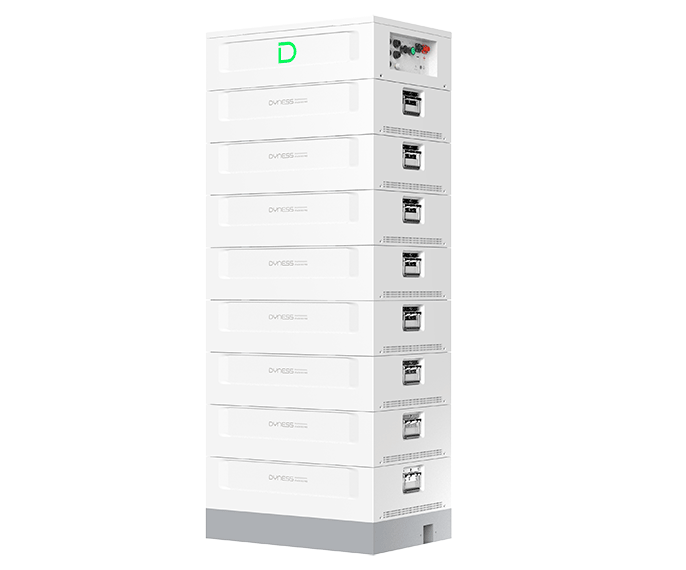
Products such as DL5.0C, DL5.0C Pro, PowerBox G2, and PowerBrick can support different low-voltage residential storage scenarios. Tower Pro and STACK100 Pro can be considered for higher-capacity or modular high-voltage applications, depending on system design and local availability.
The final product selection should always be confirmed according to the latest Dyness datasheets, approved inverter compatibility lists, warranty requirements, and professional installer assessment.
Common Installation and Expansion Mistakes to Avoid
Myth 1: Battery capacity can be selected without future planning.
Selecting only based on current electricity use may limit future upgrades. Users should consider possible EV charging, heat pumps, additional appliances, larger PV systems, or longer backup needs before installation.
Myth 2: Compatibility can be checked after installation.
Battery, inverter, communication protocol, voltage platform, and monitoring system must be matched before installation. Unsupported combinations may cause communication errors, unstable operation, or limited performance.
Myth 3: A larger battery always improves performance.
Oversizing without enough solar input or household demand may leave part of the battery underused. The system should match PV generation, load profile, usable capacity, and inverter power.
Myth 4: Expansion is always simple regardless of system age.
Adding new batteries to an older system may require technical evaluation because battery aging can affect system balance and performance. Only approved combinations should be used.
Myth 5: Residential and commercial batteries are interchangeable.
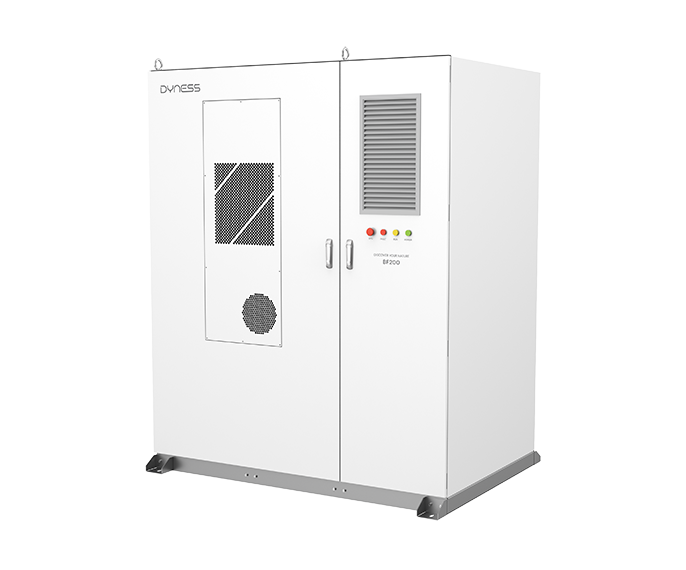
Residential and C&I systems are designed for different power levels, installation environments, safety standards, and operating conditions. They should not be treated as the same system unless officially approved.
Myth 6: Professional installation is optional.
Energy storage installation involves electrical connection, communication setup, grid compliance, safety clearance, and commissioning. Professional installation is recommended to protect safety, performance, and warranty conditions.
Final Takeaway
Installing a Dyness energy storage system requires more than connecting a battery. A reliable installation starts with energy assessment, product selection, site preparation, inverter compatibility checking, safe wiring, system configuration, and professional commissioning.
With flexible low-voltage, high-voltage, and modular battery platforms, Dyness can support different residential energy needs and future expansion possibilities.
For homeowners, the best installation plan should match current electricity use while leaving room for future energy growth. For installers, the key is to confirm compatibility, follow official Dyness guidance, and complete commissioning according to local electrical requirements.
When properly planned and professionally installed, a Dyness energy storage system can provide stable support for solar self-consumption, backup power, and long-term home energy management.
FAQ
-
Q: What is the installation process for a Dyness home battery system?

A: The installation process usually includes energy assessment, product selection, site preparation, battery installation, inverter connection, communication setup, system configuration, testing, and commissioning.
-
Q: Can I expand my Dyness battery system after installation?
A: Some Dyness battery platforms support expansion, but expansion depends on battery model, system age, inverter compatibility, BMS communication, available installation space, and approved configurations. Professional evaluation is recommended before adding more capacity.
-
Q: Can I install a Dyness battery by myself?
A: Energy storage installation involves electrical connections, communication settings, safety requirements, and grid regulations. Professional installation is recommended, especially for high-voltage systems, backup circuits, and multi-battery configurations.
Learn More