

























How Long Does It Take to Install a Dyness Home Energy Storage System?


Get notified about new updates, products, tips and tutorials. No spam.
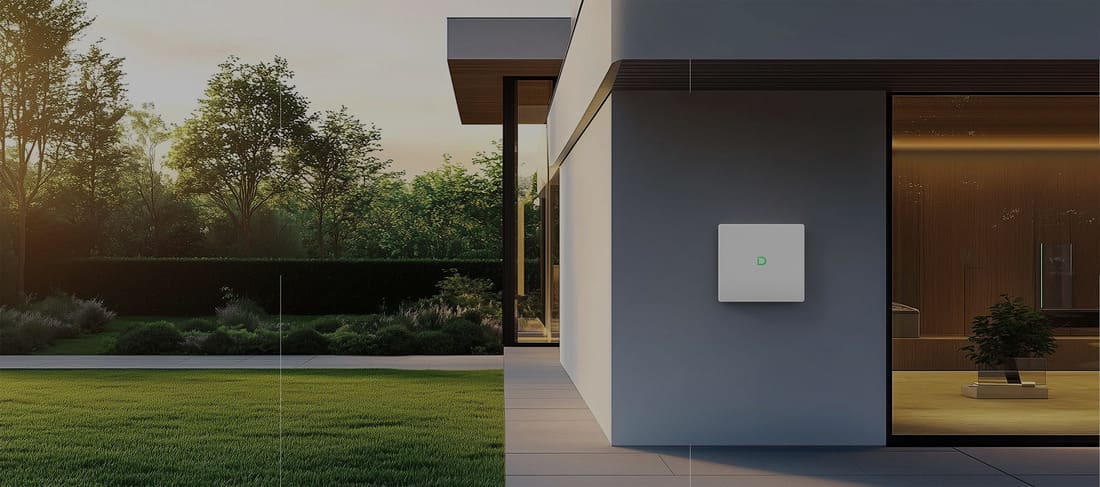
The time required to install a Dyness home energy storage system depends on more than the battery model itself. Site conditions, inverter compatibility, PV system design, electrical wiring, backup requirements, communication setup, commissioning, and local grid rules can all affect the final installation schedule. For a standard residential installation with suitable conditions and compatible equipment, the physical installation and commissioning process can usually be completed more efficiently.
However, if the project requires electrical upgrades, backup circuit redesign, inverter replacement, permitting, or complex system configuration, the overall timeline may be longer. A successful installation should focus not only on speed, but also on correct system matching, safe electrical work, reliable communication, and proper commissioning.

Why Installation Time Varies from Home to Home
There is no single installation time that applies to every Dyness home energy storage project. A battery system is part of a complete household energy architecture, not a standalone appliance.
The installation process may involve the battery, inverter, PV system, distribution board, communication cable, monitoring device, protection components, backup circuits, and local grid connection requirements.
For a home that already has suitable space, compatible inverter equipment, clear cable routing, and simple backup needs, the installation process can be relatively straightforward.
For a home that requires electrical panel upgrades, inverter replacement, complex backup load design, outdoor installation preparation, or regulatory approval, the total project timeline may be longer.
This is why homeowners should evaluate both the on-site installation work and the pre-installation planning process before estimating how long the project will take.
Typical Steps in a Dyness Home Battery Installation
A Dyness residential energy storage installation usually includes several stages. Each stage affects the total installation timeline and system reliability.
| Installation Stage | Main Work Involved | What May Affect the Time |
|---|---|---|
| Site assessment | Check installation space, ventilation, wiring route, existing PV system, inverter, and household loads. | Complex electrical layout, limited space, or unclear existing system information. |
| System design | Confirm battery capacity, inverter compatibility, PV pairing, backup function, and future expansion needs. | High-load appliances, whole-home backup, EV charging, heat pumps, or future expansion planning. |
| Physical installation | Install battery modules or cabinets, connect cables, set up protection devices, and complete mechanical fixing. | Indoor or outdoor location, wall or floor mounting, cable distance, and maintenance clearance. |
| Electrical connection | Connect battery, inverter, PV system, grid side, backup circuits, grounding, and protection components. | Panel upgrade, backup circuit redesign, cable replacement, or local electrical requirements. |
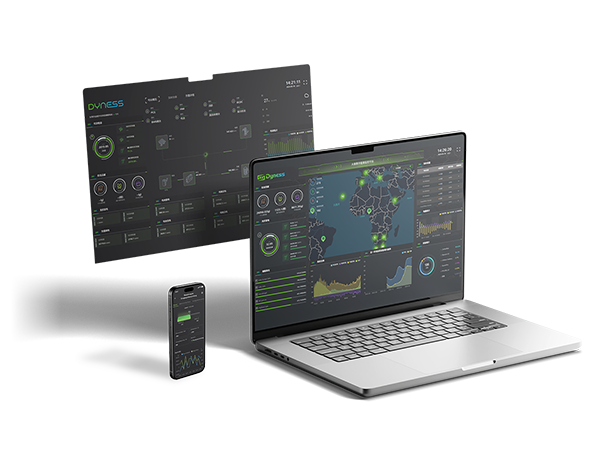
| Communication setup | Configure BMS communication, inverter settings, monitoring platform, and system data connection. | Communication protocol, firmware version, network connection, and inverter configuration. |
| Commissioning and testing | Check charging, discharging, SOC display, alarms, backup operation, and monitoring data where applicable. | System complexity, backup requirements, firmware checks, or troubleshooting during commissioning. |
A battery that powers on is not necessarily ready for regular use. The complete system should be tested and commissioned before daily operation.
What Can Make Installation Faster?
Installation can usually be completed more efficiently when the system is well prepared before the installer arrives on site.
| Preparation Item | How It Helps Shorten the Process |
|---|---|
| Confirmed inverter compatibility | Reduces the risk of communication problems, parameter mismatch, or redesign after equipment arrives. |
| Clear installation location | Allows faster mechanical installation and easier cable routing. |
| Existing PV and load information | Helps installers design the system according to real solar generation and household consumption. |
| Defined backup load list | Avoids last-minute decisions about which circuits should be connected to backup power. |
| Stable network connection | Supports monitoring setup, data upload, and remote service functions where supported. |
| Required permits or approvals | Reduces project delays caused by local grid or regulatory procedures. |
The more complete the pre-installation information is, the easier it is for installers to prepare the right equipment, wiring plan, and commissioning steps.

What Can Make Installation Take Longer?
Some projects take longer because additional system design or electrical work is required before the battery can operate safely.
| Delay Factor | Why It May Extend the Timeline |
|---|---|
| Incompatible inverter | The system may require a different inverter, firmware update, or revised configuration. |
| Electrical panel upgrade | Older or limited electrical infrastructure may need modification before battery installation. |
| Complex backup design | Whole-home backup or multiple critical loads may require additional circuit planning and testing. |
| Outdoor installation preparation | Weather protection, mounting conditions, cable routing, and environmental requirements may need extra preparation. |
| Monitoring or communication issues | Incorrect communication settings, weak network signals, or firmware mismatch may require troubleshooting. |
| Local grid or permitting procedures | Some regions require approval, inspection, or grid-connection confirmation before operation. |
These factors do not mean the project is unsuitable. They simply mean that the installation timeline should include assessment, preparation, and professional commissioning.
How Different Dyness Product Directions Affect Installation
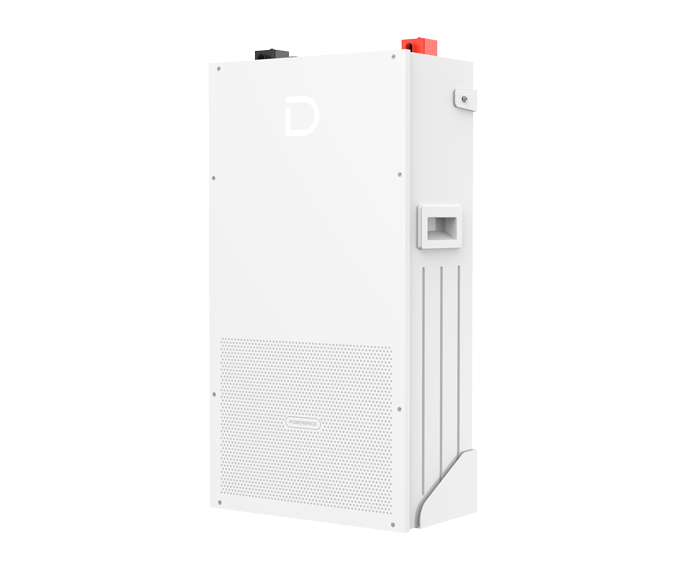
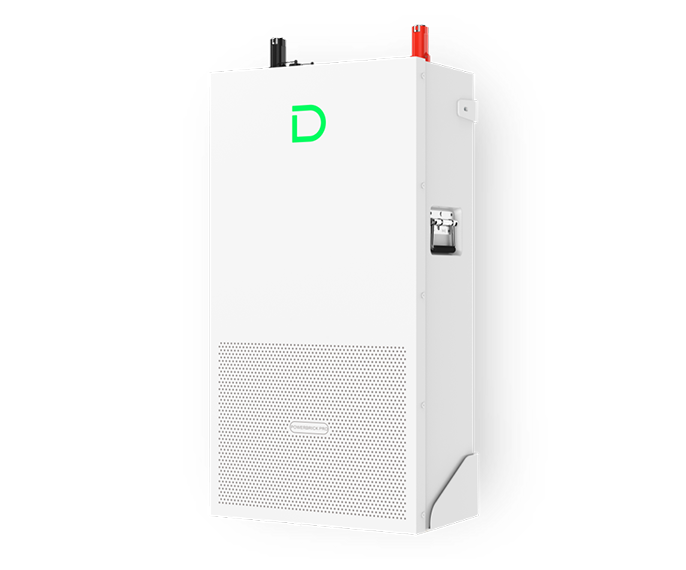
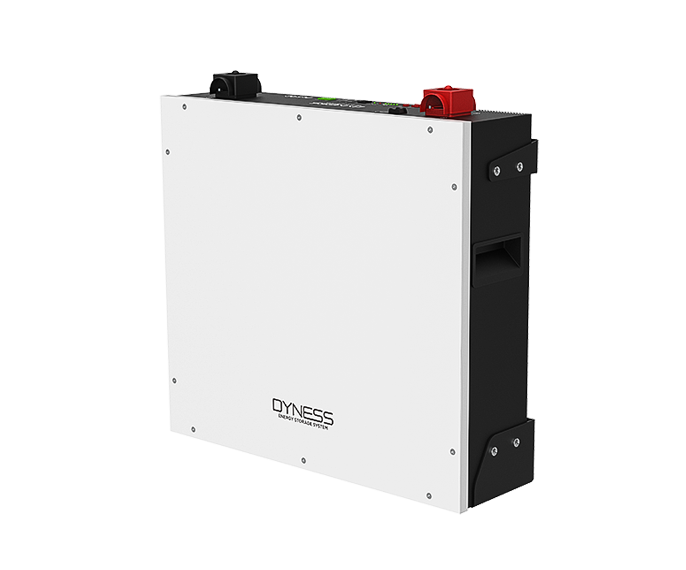
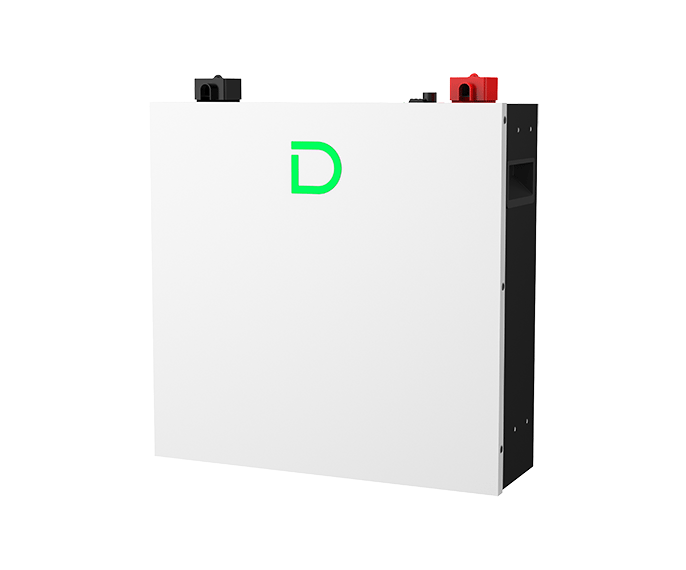
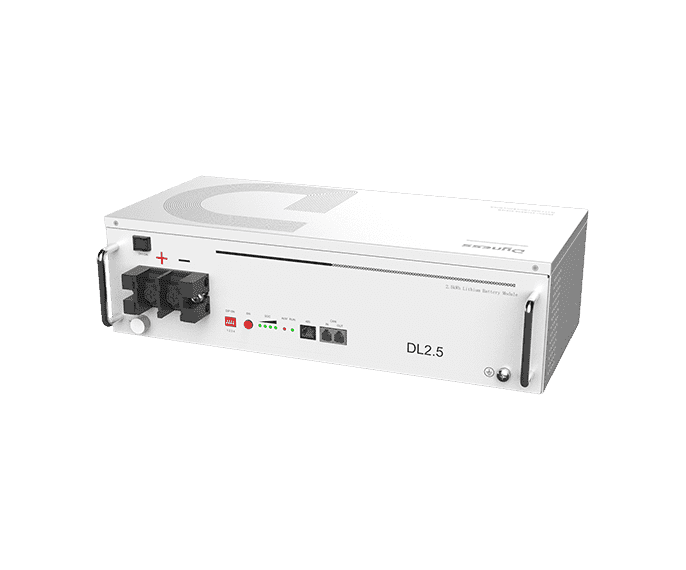
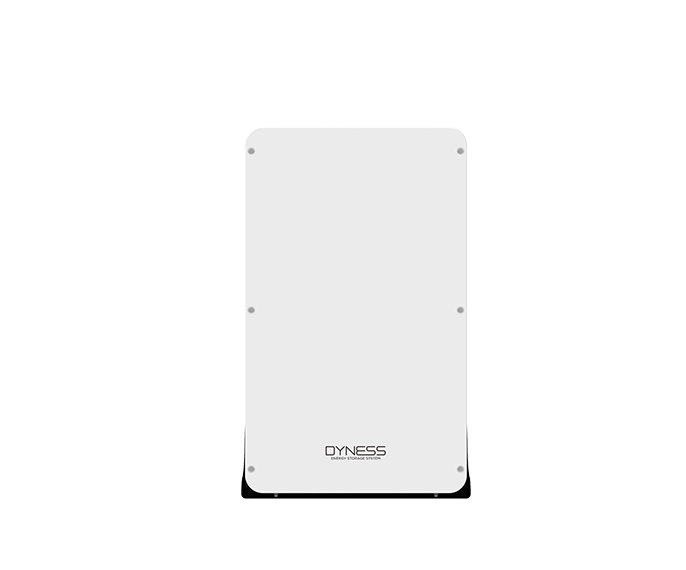
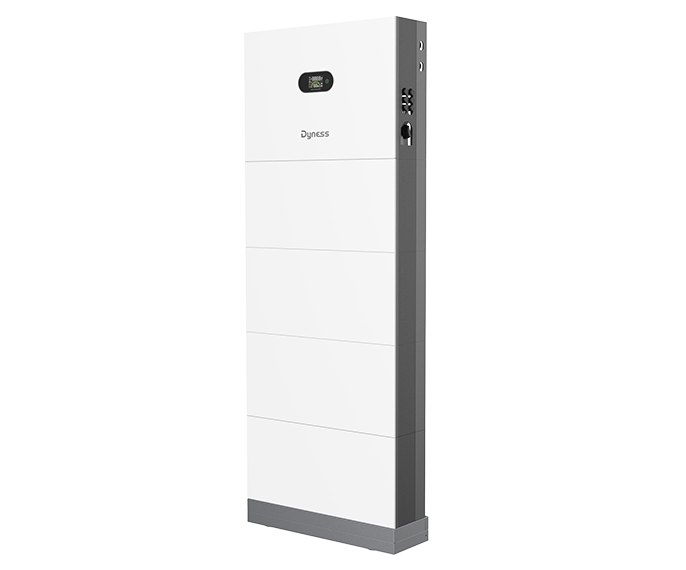
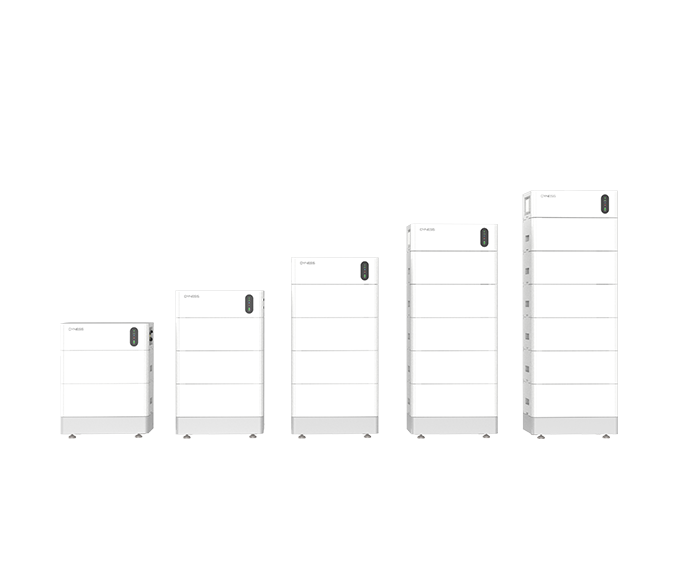
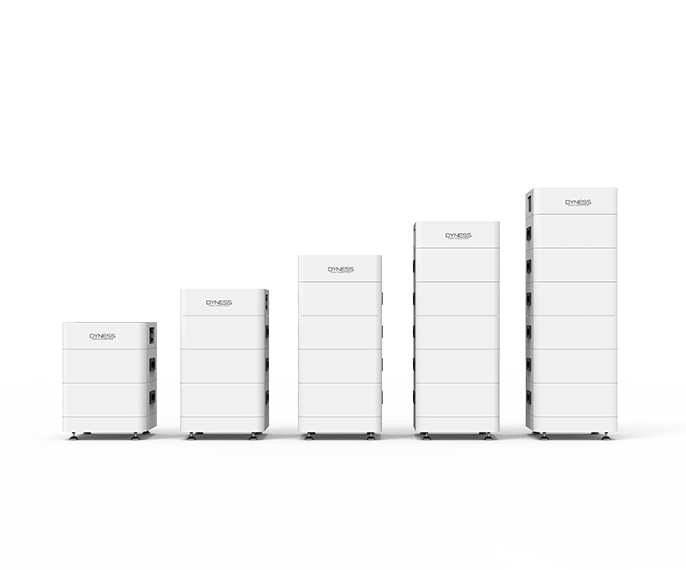
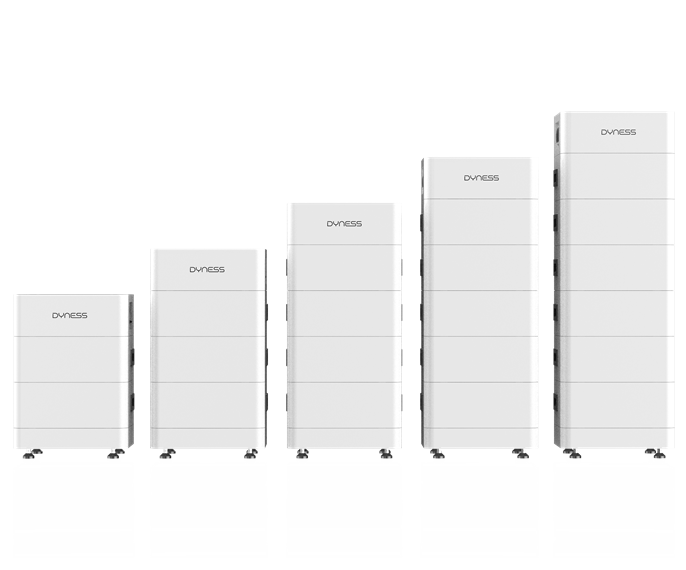
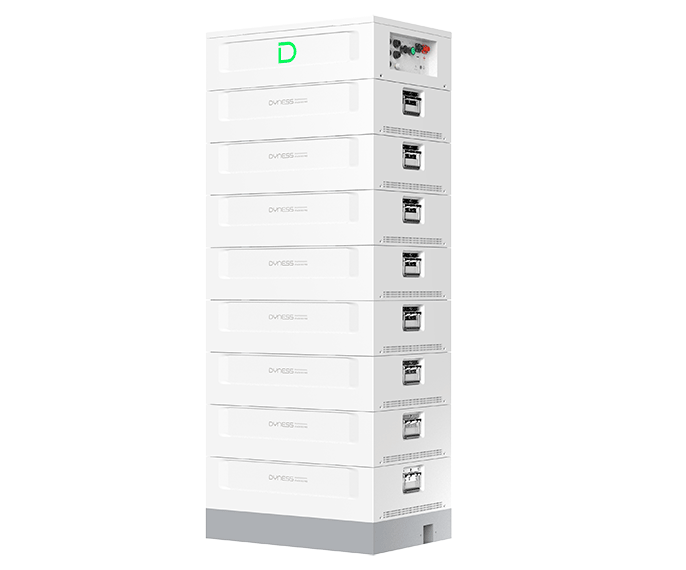
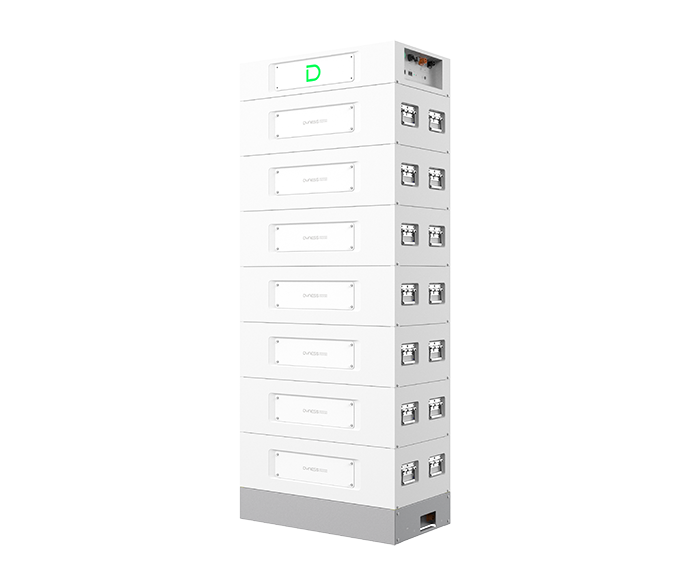
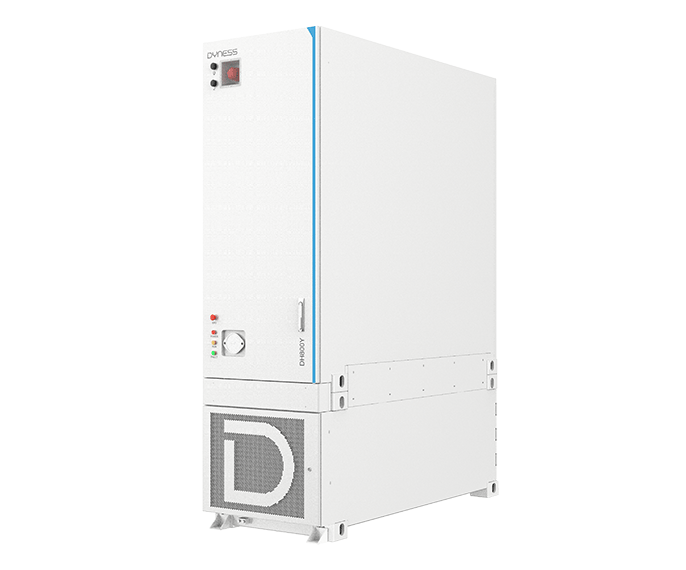
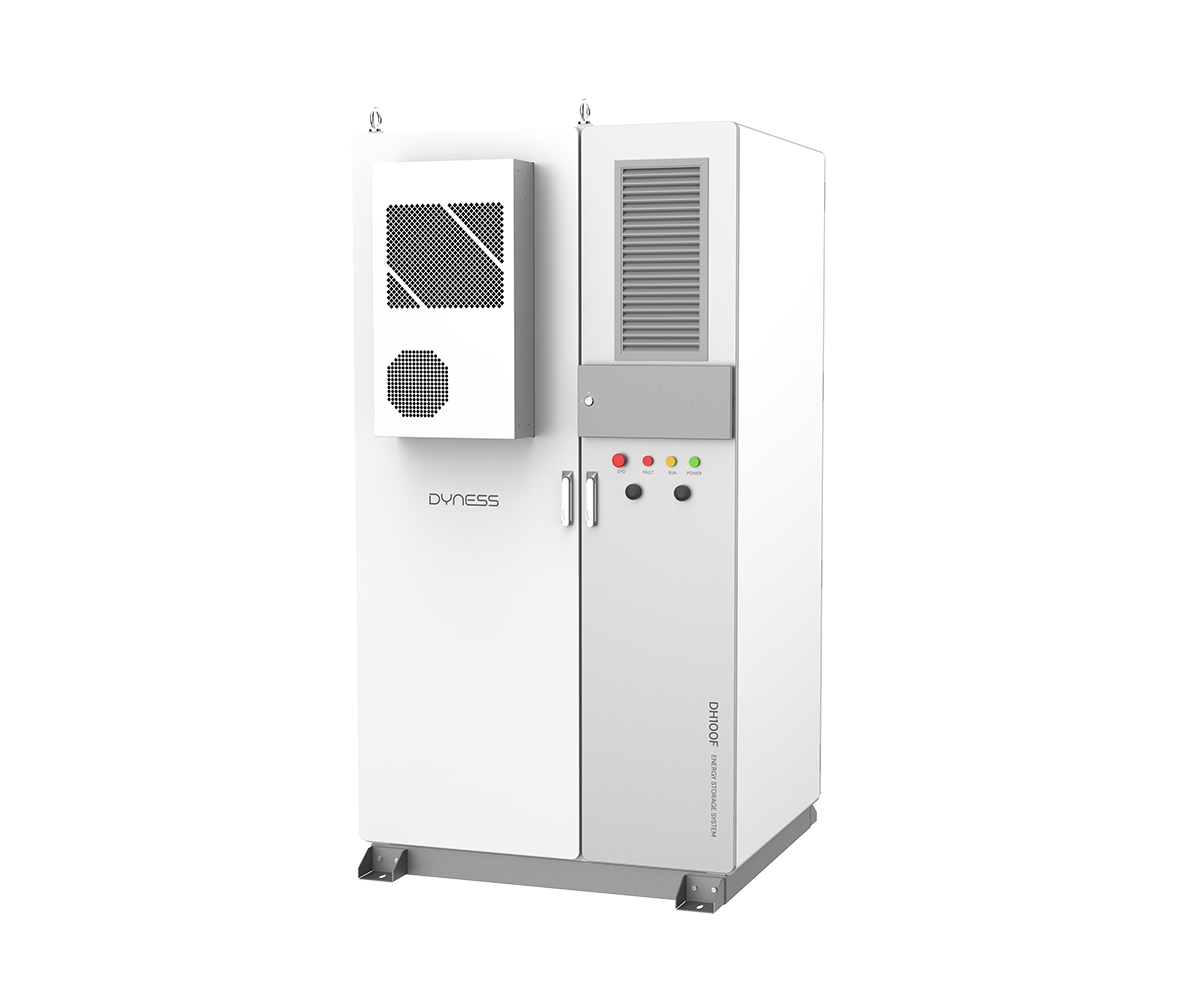
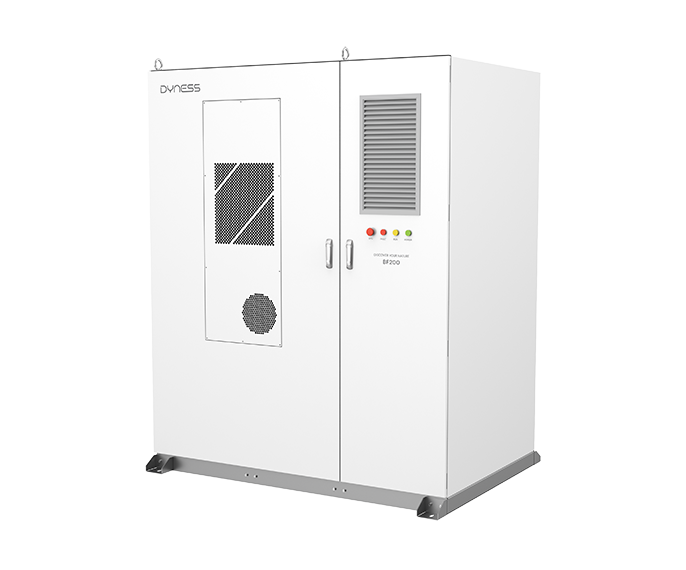
Different Dyness residential energy storage platforms may have different installation processes because their voltage platforms, capacity ranges, physical structures, and application scenarios are different.
| Dyness Product Direction | Typical Installation Consideration | Best-Fit Scenario |
|---|---|---|
| Low-voltage residential batteries | Check parallel rules, inverter compatibility, cable connection, BMS communication, and installation space. | Standard homes, solar self-consumption, essential backup, and flexible capacity planning. |
| High-voltage modular systems | Check module combination, HV inverter matching, voltage range, communication settings, and safety protection. | Homes with higher energy demand, stronger performance requirements, or future load growth. |
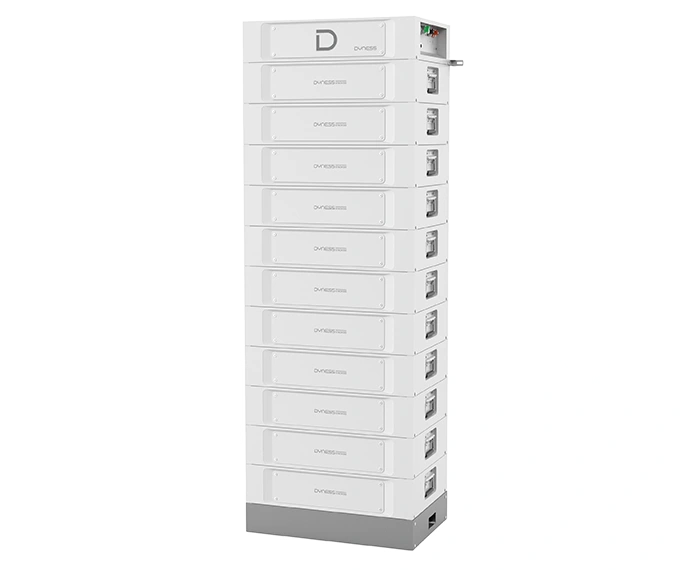
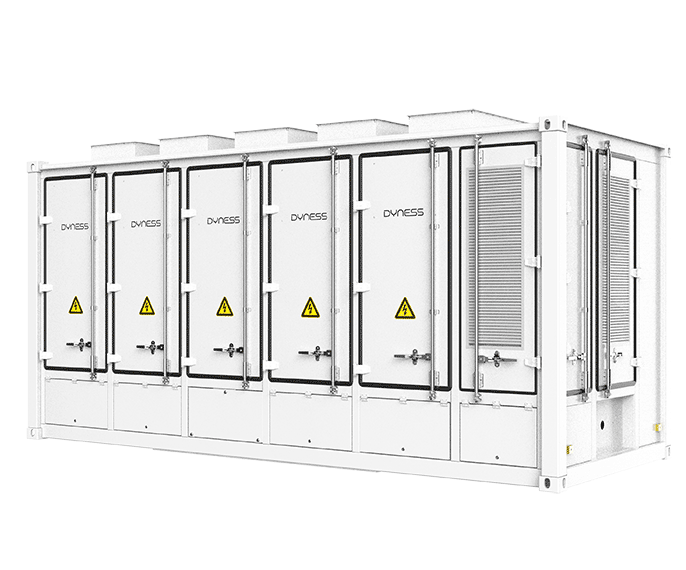
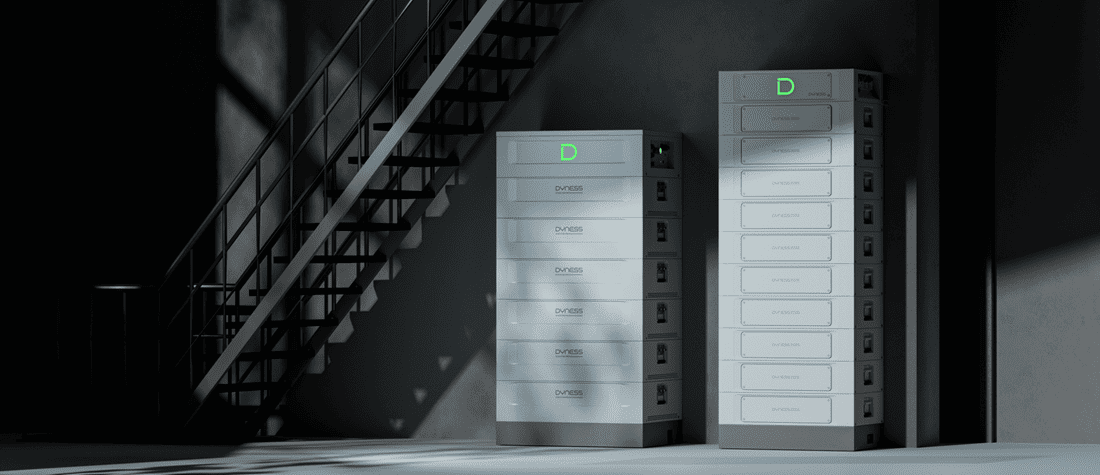
| STACK100 or larger modular platforms | Evaluate stackable installation space, approved configuration, inverter matching, expansion plan, and commissioning requirements. | Large residential, high-load households, or small C&I applications where supported. |
Product selection should be based on the home’s energy goals, PV system, inverter platform, backup needs, and installation conditions rather than installation speed alone.
Common Installation Mistakes to Avoid
Misconception 1: The battery can be selected before checking the inverter.
Reality: The battery and inverter should be evaluated as one system. Compatibility should be confirmed before purchasing equipment.
Misconception 2: Voltage matching means full compatibility.
Reality: BMS communication, firmware, inverter settings, charge and discharge limits, and approved configuration also matter. Two products with compatible voltage ranges may not necessarily work together.
Misconception 3: Installation environment is not important.
Reality: Temperature, moisture, ventilation, sunlight, clearance, and maintenance access can all affect system suitability and long-term performance.
Misconception 4: Residential battery installation is a simple DIY project.
Reality: Residential energy storage involves electrical connections, battery management, inverter communication, protection devices, and local safety requirements. Installation and commissioning should be completed by qualified professionals where required.
Misconception 5: Backup power is included automatically.
Reality: Backup operation depends on inverter capability, backup circuit design, load selection, switching method, and local electrical rules.
Final Takeaway
The installation time for a Dyness home energy storage system depends on the complete project conditions, not only the battery itself.
A standard installation with compatible equipment, suitable site conditions, and clear system design can often be completed more efficiently. Projects involving inverter replacement, electrical upgrades, whole-home backup, outdoor preparation, or local approval may require more time.
Homeowners can help shorten the process by preparing inverter information, PV system details, household load requirements, installation photos, backup priorities, and local grid or permitting information before installation.
The best installation is not simply the fastest one. It is the installation that correctly matches the battery, inverter, PV system, household loads, safety requirements, and future energy needs.
FAQ
-
Q: How long does it take to install a Dyness home energy storage system?

A: There is no single fixed time. A standard installation with compatible equipment and suitable site conditions can usually be completed more efficiently, while projects requiring electrical upgrades, inverter replacement, backup circuit design, or permitting may take longer.
-
Q: What affects the installation time of a Dyness home battery?
A: Key factors include inverter compatibility, installation location, electrical panel condition, PV system design, battery capacity, backup requirements, communication setup, monitoring configuration, and local grid rules.
-
Q: Can a Dyness battery be used immediately after installation?
A: The battery should be used only after proper commissioning. Installers should verify communication, inverter settings, charging and discharging, SOC display, monitoring data, protection status, and backup operation where applicable.
Learn More